EducationMontessori vs Traditional Education: What’s the Difference?Blaise WeberJune 25, 2025July 1, 2025
EducationA Look at STEM Education at BASIS International School BangkokPaul PetersenJune 12, 2025June 12, 2025
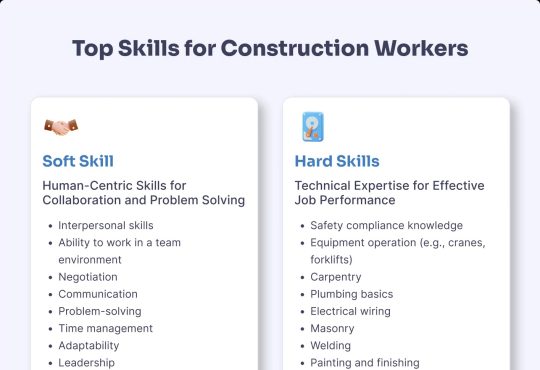
EducationEssential Resume Tips for Construction Workers: Showcasing Your Strengths and SkillsBlaise WeberJune 9, 2025June 9, 2025
EducationMontessori vs Traditional Education: What’s the Difference?Blaise WeberJune 25, 2025July 1, 2025When it comes to choosing a school for your child, many parents ask the same question: Should we go with...
Essential Resume Tips for Construction Workers: Showcasing Your Strengths and SkillsJune 9, 2025June 9, 2025
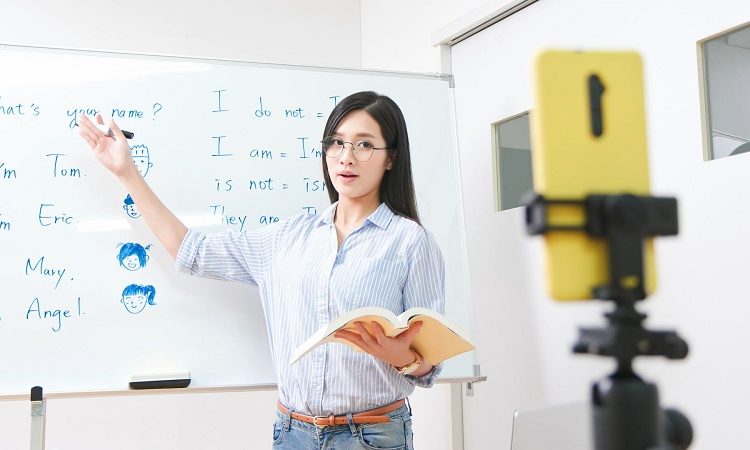
Online EducationWhy You Should Get a Trinity CertTESOL CertificateClare LouiseJuly 13, 2023July 13, 2023
CareerWhat keeps Bihar from hiring teachers?Paul PetersenJune 29, 2021July 1, 2021This article contains the news curated regarding what keeps the state Bihar from hiring teachers. Despite having nearly three lakh...
From Performing Online Pujas to Owning a Chain of Designer Brands Across India: Inspiring Success Stories of Women in IndiaApril 8, 2021April 8, 2021